Showing posts with label card. Show all posts

Thursday, October 4, 2012

Happy Thursday

Today's weather in Brooklyn - cloudy  with scattered thunderstorms in the afternoon. In my apartment the weather is SUNNY & BRIGHT. Thanks to washi tape!

photo from sideoats and scribbles


Washi Tape. Love them. Discovered them when prepping for my friend's baby shower earlier this year. 

What is washi tape? Decorative tape that is easy to apply on any surface and you can write on them as well. They come in variety of colors, patterns, and widths. I've used them on constructions paper, glass, walls, wood,etc. Add a little fun to anything with a little bit of WASHI TAPE!


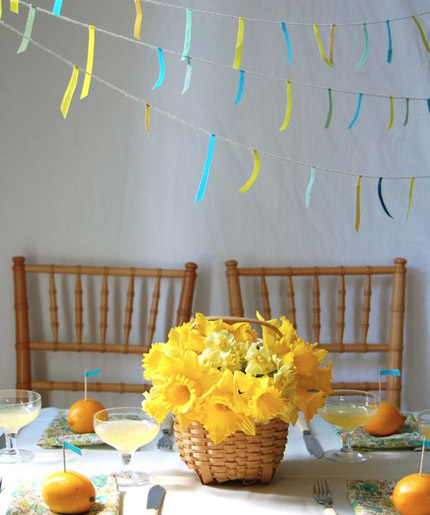
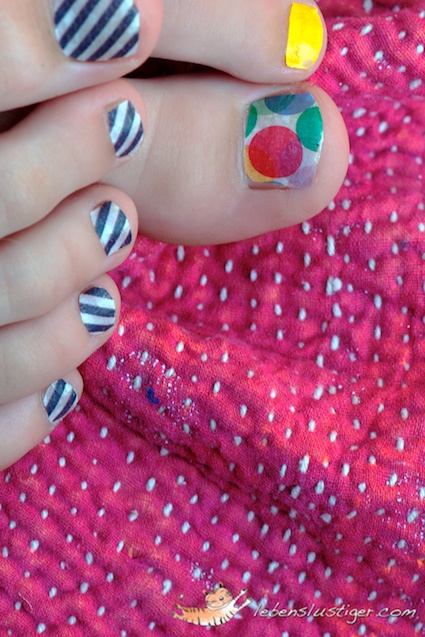
Here are 10 of my favorite ideas using washi tape:

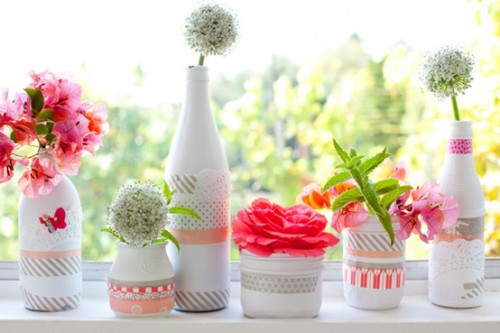
1. Washi tape decorated vases from a creative mint


2.Washi tape clothespins escort cards from sugar and cloth


3. Washi tape flag garland from project wedding


4. Washi tape decorated pumpkin from real simple


Photo from real simple

5. Washi tape journal from honest to nod


6. Washi tape gift tag from crescendoh


7. Washi tape pedicure from lebenslustiger


8. Washi tape letter decor from live laugh rowe


9. Washi tape bunting from torie jayne


10.Washi tape coaster from design dreams japan


Looking for more inspirations?  Tons of ideas on pinterest

Where to buy them? You can get them on etsycute tapehappy tape, and some other places listed on side oats and scribbles.

Remember my post yesterday where I made Thank You cards and said that simple is best? Well, since I've been thinking about washi tape today, I added them to the cards. Look at the difference!
Before washi tape

After washi tape

Now my cards are complete and ready to send out; after Mr. T writes on them since I can't write straight without lines :)

Wednesday, October 3, 2012

Thank you card

We had a great waiter at Trattoria 35 where I had my baby shower. Chris was very attentive to all the guests, especially the kids. He was so great that he basically packed all the colored arts that the kids did (along with the pizza and chicken fingers on them) and 33 MENUS for me. I didn't realized that until I unpacked everything when I got home. Mr. T said that maybe he thought I wanted them as mementos. I would like one, but not 33 menus. What would I do with 33 menus?!

So as I was sitting home trying to find good Thank You cards for the guests at the baby shower, I had the crazy idea of turning the menus into cards. I think Chris knew I would find a way to do something with those menus. I love to recycle things. Now I know what I can do with last year's Christmas cards! Thanks Chris. I will consider naming my baby boy after you!

Here is the before and after of my Thank You card project:


The MENU


The THANK YOU cards


I basically used the whole menu to make the card.

I just cut out the bunting from the menu. Glue it to the corner of a note card that I have. The front of the card is actually the patterns that you see, but I used the plain colored side so that it doesn't clash with the bunting.

Next, I used my Silhouette Cameo to cut out the "THANKS" with the curved borders using the menu.  Took me a while for this part since I couldn't figure out how to print more than one at a time. 

After the "THANK" sign finished, I cut two 1 inch strips from the menu and glue it to the top and bottom on back of the sign to give it a slight elevation from the background. Then I glued it to the card. 

The hardest part of this project was using a tweezer to glue that little dot for the letter "a" in "THANKS". I think I can be a surgeon. 

The card is nice and simple. I can add something else like an elephant or a giraffe to match the baby shower theme, but sometimes simple is best. I'm exhausted now anyway!!

That's how I spent my Wednesday! How was your day?